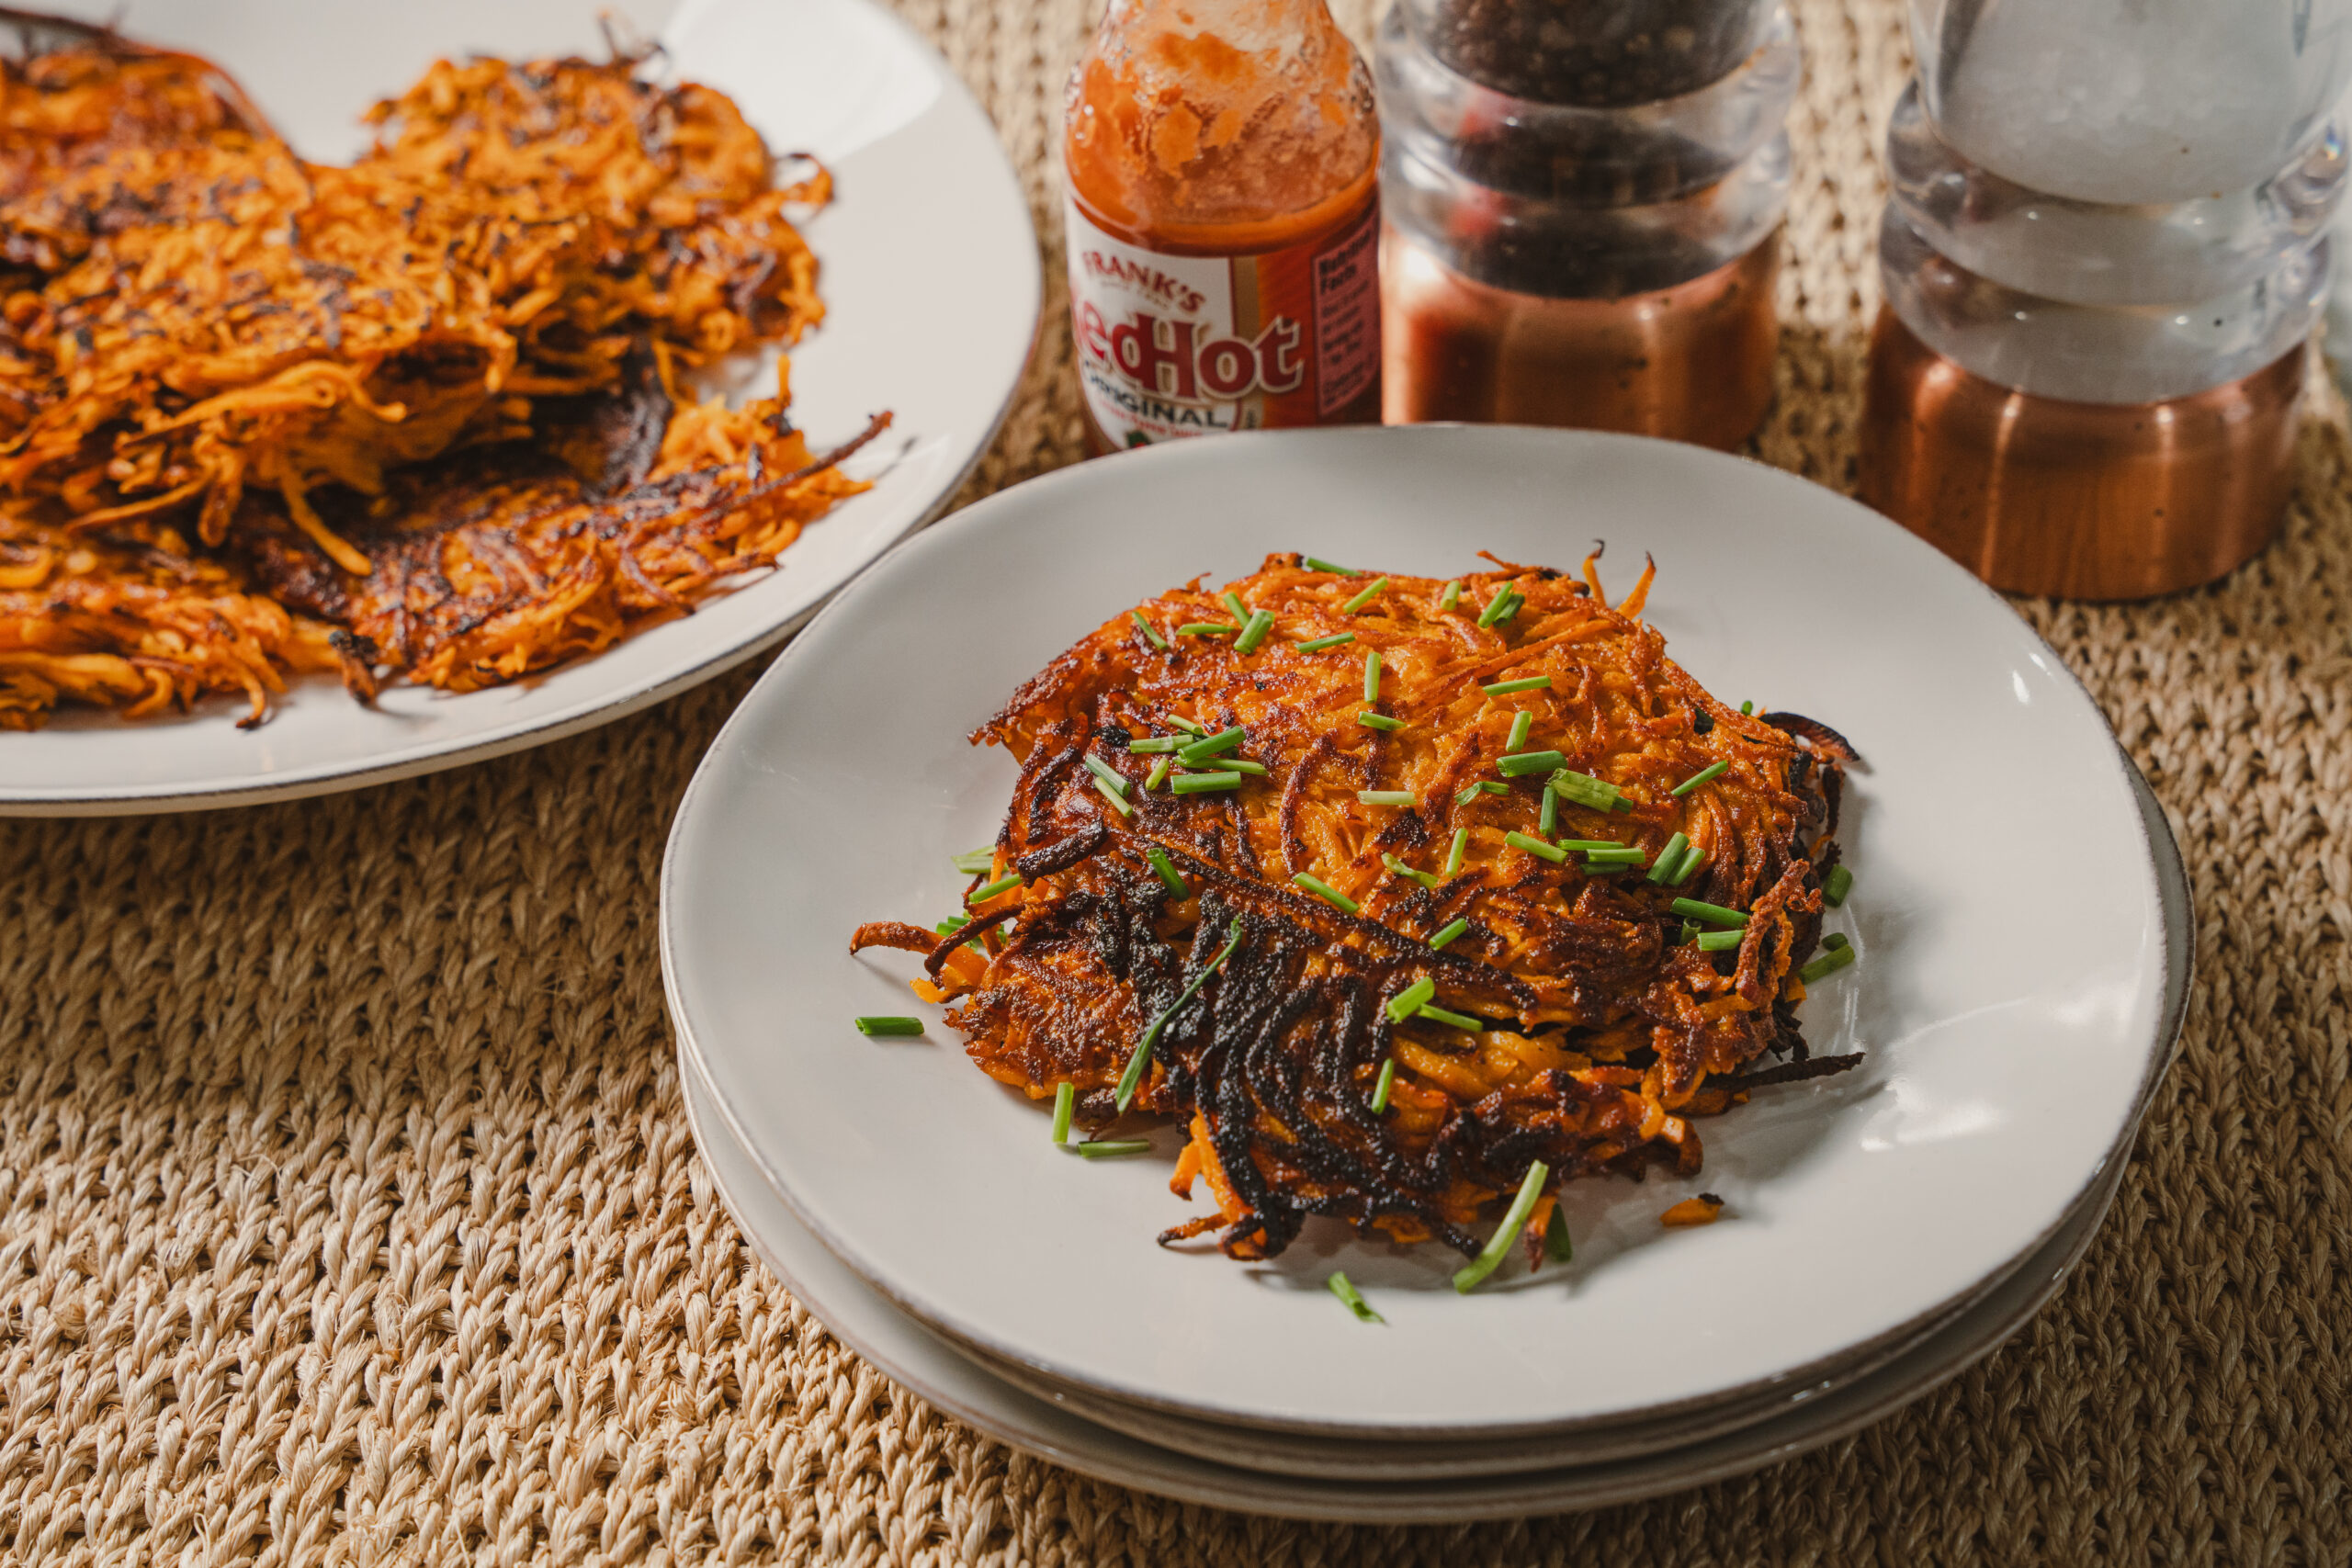
Sweet Potato Hashbrowns
The idea behind this came about when I traveled to Chicago and had breakfast at this small little diner in the city with my mom after an early flight. I said, “why haven’t I thought of this?” The sweetness from the potato creates the best caramelization and crispiness on the hash-brown. It’s also a much healthier version of the traditional hash-brown. It’s so good with a perfectly poached or fried egg on top!
Sweet Potato Hashbrowns
- Prep Time
10 min
- Cook Time
15 min
- Total Time
20 min
- Servings
6-8
- Difficulty
Super Easy
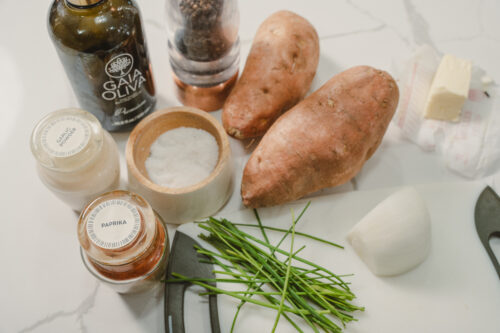
Ingredients
- 2 large, sweet potatoes peeled and shredded
- ¼ onion grated
- Salt+Pepper
- ½ tsp garlic powder
- ½ tsp smoked paprika
- 1 tbsp olive oil
- 1 tbsp butter
- 1 bunch of chives
Instructions
- Using your food processor, shred your sweet potatoes. I like to peel the potatoes and then cut them in half or quarters before putting them through the food processor fitted with a shredding blade. The food processor is going to be your quickest and easiest way to shred your potatoes but if you do not have one, you can simply use a regular handheld grater. You’ll just need a little elbow grease 😉
- After the potatoes are grated, I also throw my onion in the food processor as well.
- Place both the potato and onion in a large mixing bowl and add your salt/pepper, garlic powder, and paprika. Mix until everything is well combined.
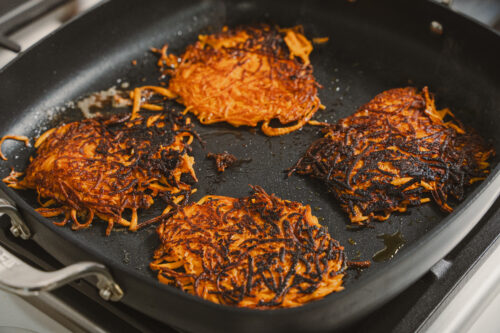
- Heat your oil in a large skillet or cast-iron skillet over medium heat. Once hot, add your butter and scoop heaping tablespoons of the potato mixture onto the skillet. Depending on the size of your skillet will depend on how many you can do at a time.
- Flatten your hash-brown out with a spatula or a burger press.
- Allow to cook for 4-5 minutes on the first side, and flip. You will know when they are ready to flip because the sugars in the potato will caramelize and create a crust that binds the hash-brown together. Trust the process here and allow them to cook long enough. At first they will look like they will fall apart and that is normal. Cook an additional 3-4 minutes or until the hash-brown is golden brown and the edges are crispy. Remove from skillet and sprinkle a little pinch of salt on each one.
- You can transfer these to the warm oven- 225°F while you’re finishing your second batch or serve immediately.
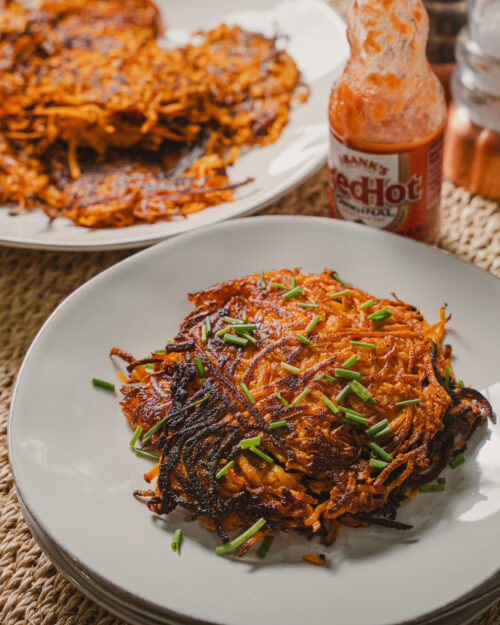
- When ready to serve, I like to give the hash-brown a quick garnish with some chopped chives.
Tips
- I do not think the use of flour is necessary in this recipe. It can cause the hash-brown to get gummy and I find its better without.
- I love a cast iron skillet. It gets extremely hot and creates a nice even crust on the hash-brown but make sure to monitor your hash-brown, so they do not burn.
- These hash-browns can be used as a breakfast side or the base for your favorite eggs.
- Hot sauce is also a great condiment for the top.


My new series Dish with DiSanto, features all the hit and trendy spots in the greater Cleveland area. If you are a foodie, or are just looking for some great places to visit while in Cleveland, then these videos are for you. Hopefully you can find your next favorite spot for friends, family, or date night. Lets get to it!